Snowflake in Conjunction With Tabular Models:
Snowflake and Analysis Services, Leaders in BI: But Can They Play Together?
The quick answer: YES
Snowflake is a leading data warehouse tool and the chances are high that you will encounter a Snowflake data warehouse in the near future. Additionally, Power BI is an industry leader in data modeling and visualization, it owes much of its power to its Tabular Model built with DAX and Power Query.
So what happens when our data becomes too big and we need to add some horse power to our reports? Well, the natural answer is Azure Analysis Services for three different reasons:
No wasted efforts: Often models built in Power BI can become quite complex. Using Azure Analysis Services helps keep the transition stress to a minimum.
Keep the detail: The other option we have is to use Snowflakes query processing power and summarize our data. But using Analysis Services gives you the speed and granularity you need.
Snowflake in Azure: Snowflake and Azure play well together. The whole Microsoft stack is still an option when using Snowflake.
What is the relationship like between a Snowflake Data Warehouse Azure Analysis Services?
Microsoft has worked with Snowflake to build a connector for Power BI. While this connector is disguised as a ‘native’ connector, it really is an ODBC connector shortcut. This translates through to Analysis Services too, with ODBC being one of the only published connection methods.
With this in mind there is currently no connector build which keeps your data in the cloud. There is a large chance that Microsoft will develop this in the future; in the mean time, we have to get creative.
What Are The Options For Using Azure Analysis Services with Snowflake ?
Snowflake ODBC Driver:
This is the baseline solution: most searching in this topic will point you in this direction. This method utilizes Snowflakes ODBC driver as a data source for your model. This is one of the most straight forward solutions for achieving our goal; it does however have a major pit fall, and that is running your data through an on-premise machine.
Middle-Man Azure Data Warehouse :
The aim of this solution is to keep your data in the cloud while maintaining a native connection to Analysis Services. With this architecture you’d dump your queries into an Azure SQL Database and then connect your Analysis Services there. This is not and ideal solution however, since things can get mixed up when using multiple data warehouses.
Databricks Spark Connector:
This is the modern approach using the Azure stack to maintain an all-cloud based solution. This uses the Snowflake Spark Connector to build a module in Databricks that we can connect our Analysis Services to. This option is a bit more advanced but will eliminate the need to have a machine running with an On-Premise Gateway.
What Does it Take to Implement The ODBC Architecture (Option #1 Above) ?
Today we are going to look into exactly the tools and setup you’ll require to establish the ODBC connection from Snowflake to Analysis Services.
And don’t worry, we’ll be covering the the other connection options soon.
Step 1: On-Premise Data Gateway
Set up service in Azure portal: Go to portal.azure.com and set up your On-Premise Gateway
Step 1a: On-Premise Data Gateway
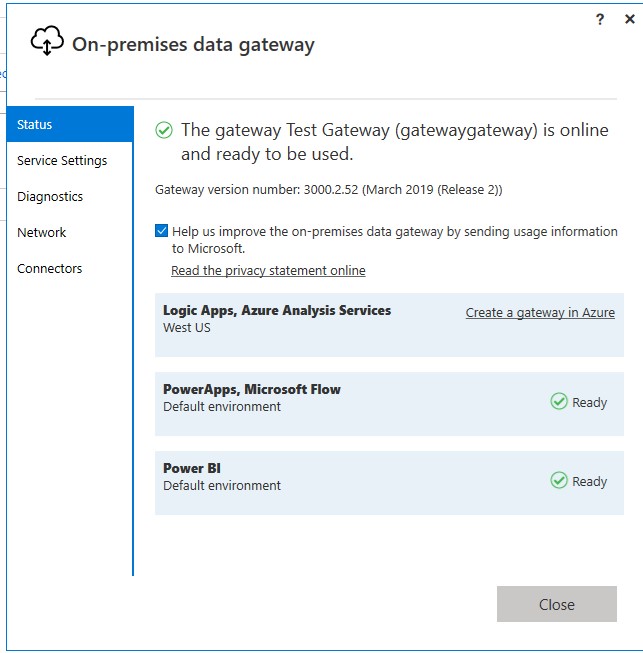
Install Microsofts On-Premise Data Gateway: https://powerbi.microsoft.com/en-us/gateway/
This is used to allow your Machine to grab data from Snowflake and push it up to your Azure Analysis Services Instance.
After following the above link and downloading the gateway, proceed with the instalation process and sign in with your Microsoft Admin account.fg
Step 1b: Connect Gateway in Azure
Next we’ve got to establish our gateway connection in Azure.
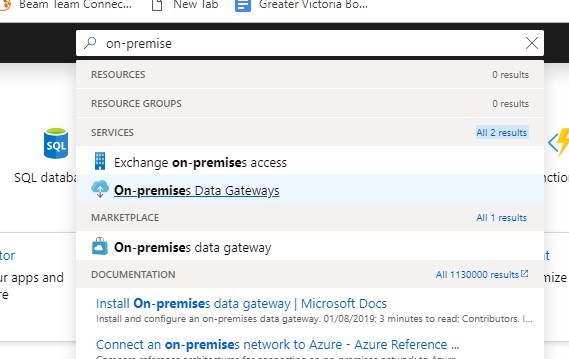
To do this navigate to the On-Premise Date Gateway service in Azure, add a new gateway under a resource group of your choosing, and choose the Installation name to be the one you just installed.
Note, keep track of the region indicated in your gateway instance, you will need to select the region associated with your installation.
Step 2: Snowflake ODBC Driver
Step 2a: Install Driver
Now we’ve got to get our driver and System DNS Set up.
Navigate to https://docs.snowflake.net/manuals/user-guide/odbc-download.html to download the Snowflake ODBC Driver.
Step 2b: Create System DNS (32 & 64 bit):
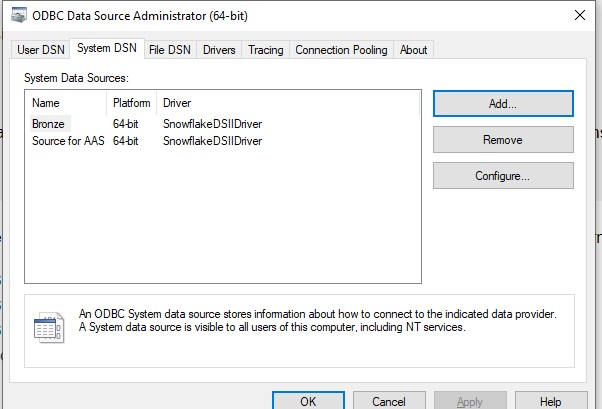
Now we’ve got to set up a Data Source in ODBC with our Snowflake Driver.
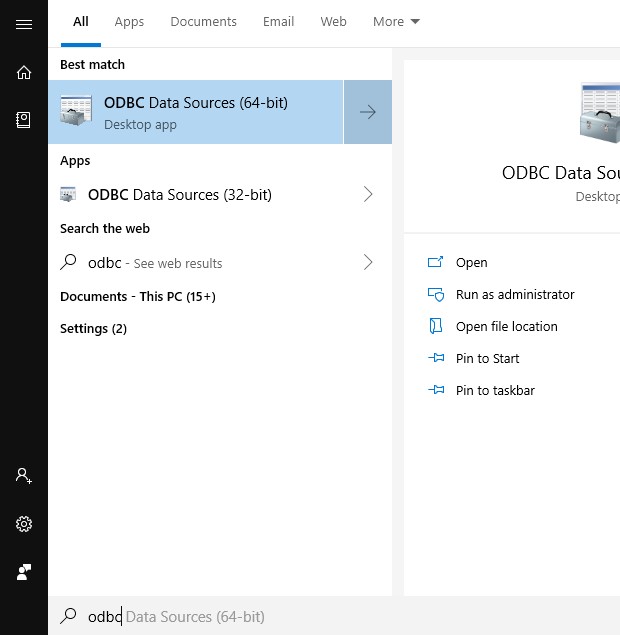
Open ODBC Data Source Administrator (64-bit).
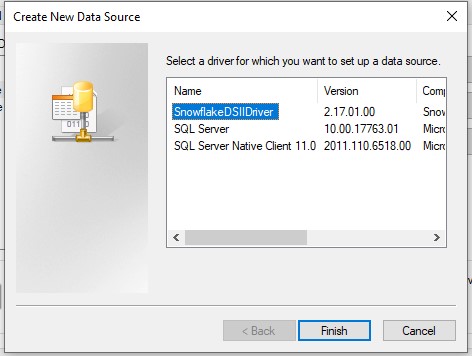
Navigate to System DNS -> Add -> SnowflakeDSIIDriver
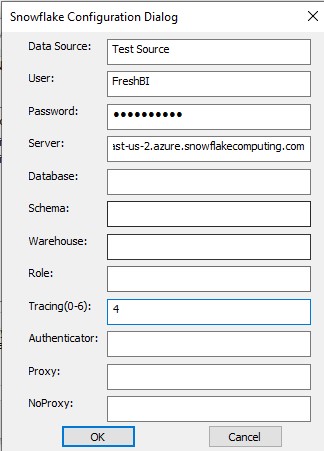
Required Fields:
Name: Data Source Name, the name in my code is currently Bronze.
Server: This is your Snowflake instance URL.
User: Snowflake username with access to required data sources.
Tracing: 4
Repeat in ODBC Data Source Administrator (32-bit)
Step 3: Setup Analysis Services
Step 3a: Create instance in Azure Portal
Next we’ve got to create a new Analysis Services instance. This is easy!
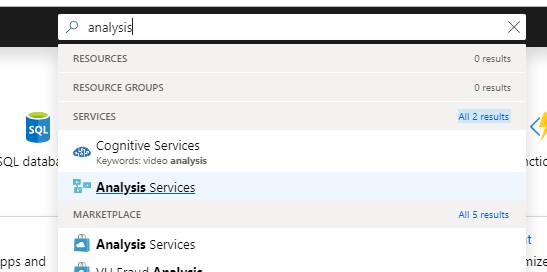
Go to portal.azure.com and navigate to the Analysis Services service.
Click + New.
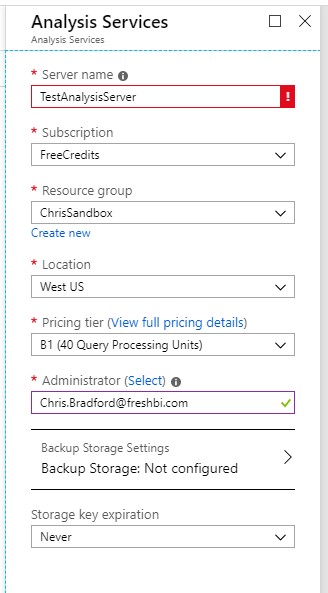
Fill out the required contents. It is important that your region matches your gateway region!
Step 4: Visual Studio Develoment
Step 4a: Install Visual Studio Pro.
Go to Microsoft and downlaod Visual Studio 2019 Pro.
Step 4b: Add SQL Server Data Tools:
Once you run the downloaded file Visual Studio will bring you to a package install page where you can choose the packages you want to include.
You are going to need the “Data storage and processing” package; specifically for SQL Server Data Tools.
Step 4c: Download Additional Packages
After installing SQL Server Data Tools, navigate here and download Microsoft Analysis Services Projects.
After Downloading run the file and it will run a Visual Studio Installation procedure.
Step 4d: Create Tabular Model
Now you’ve gotten all the packages you need.
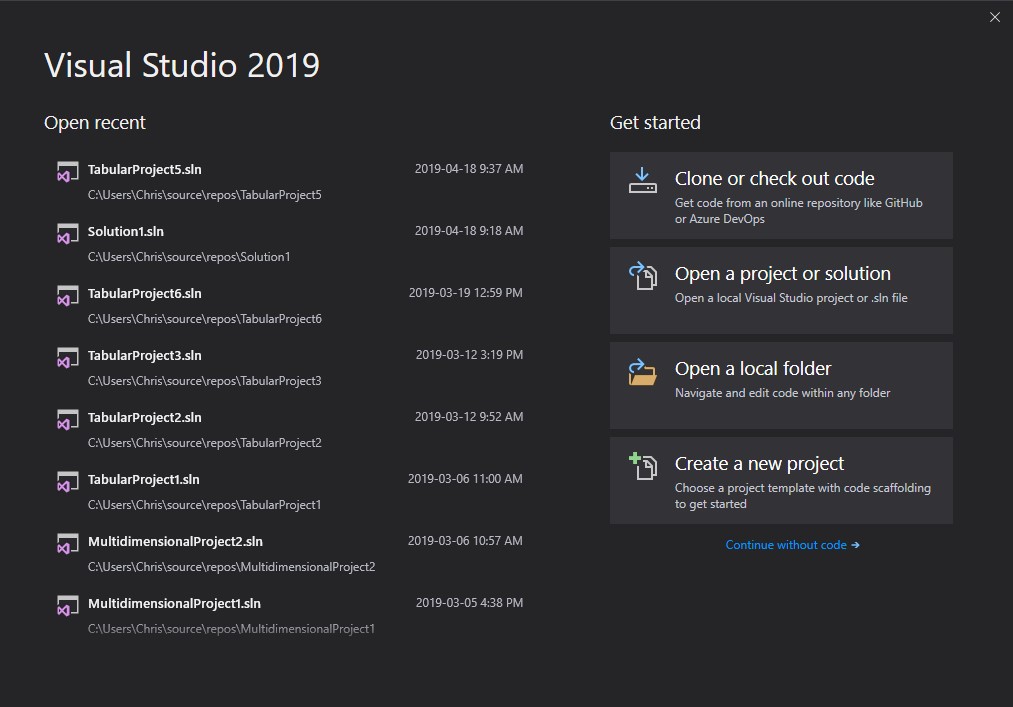
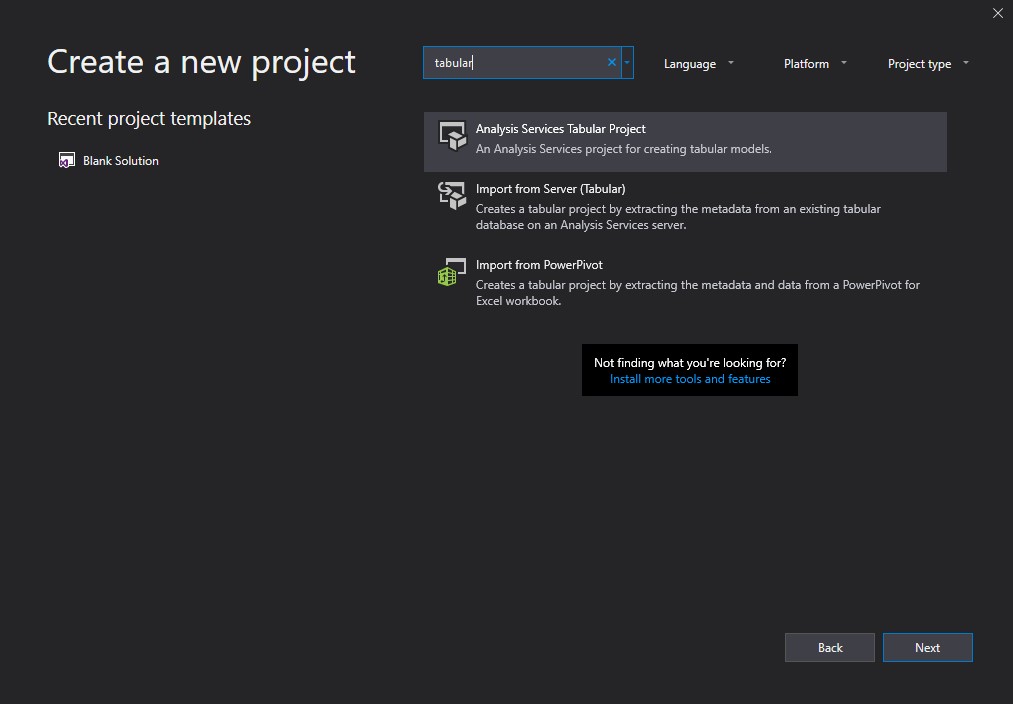
Open Visual Studio 2019, create a new project, and locate the Analysis Services Tabular Model option.
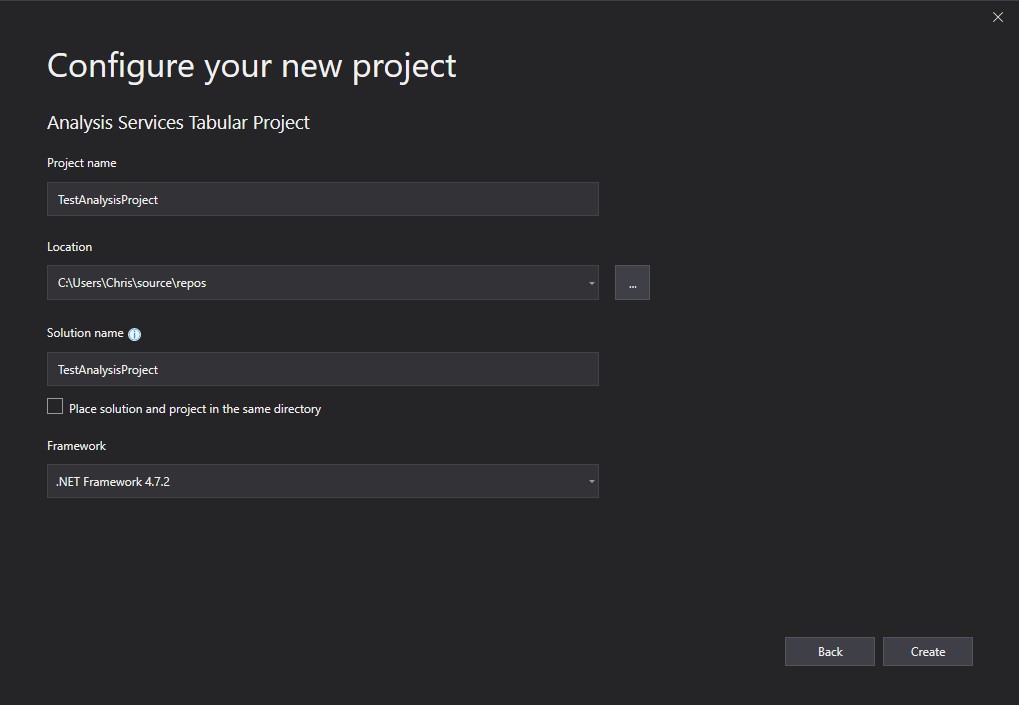
Once you’ve done this name your project.
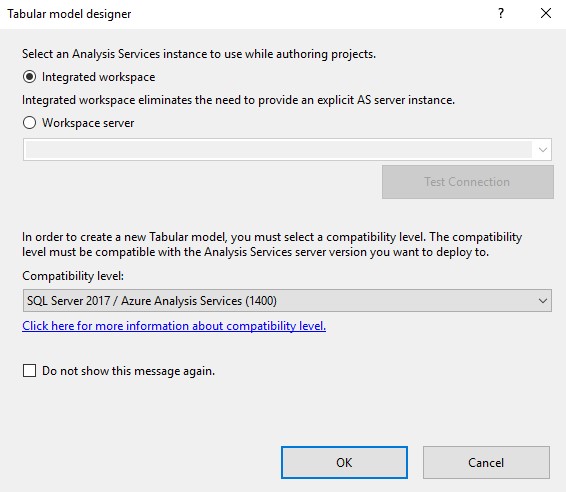
Lastly, choose to utilize an integrated workspace and select Compatibility Level “SQL Server 2017 / Azure Analysis Services (1400)”.
Click OK.
Step 5: Build your Model
Connecting Data Sources:
Now that you’ve gotten your project set up you’ve got to import some data.
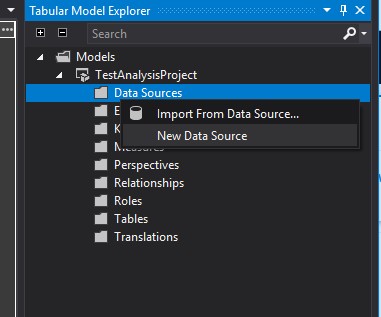
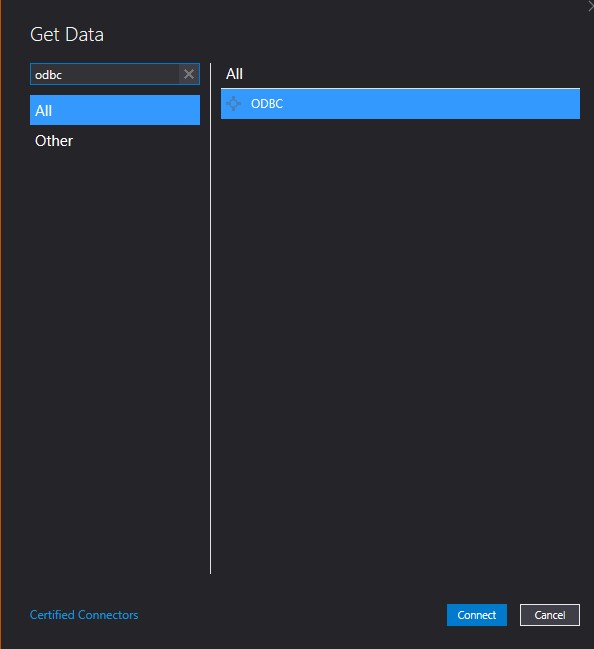
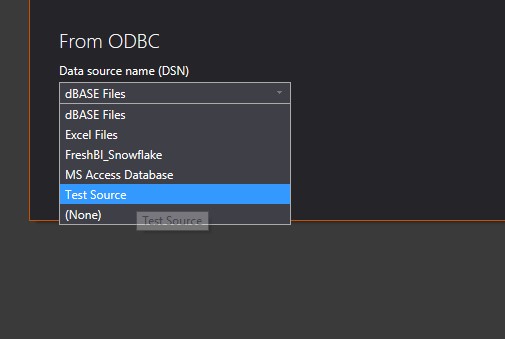
In visual studio right click Data Sources and click New Data Source.
Importing Tables:
Next we’re going to import tables from our data source.
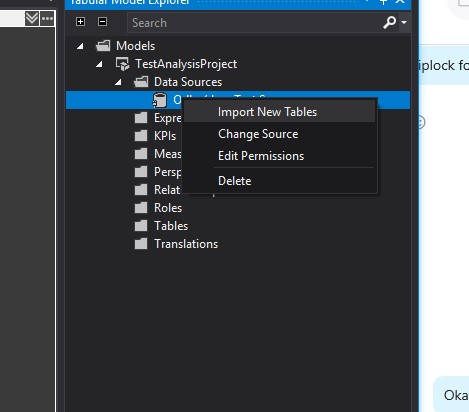
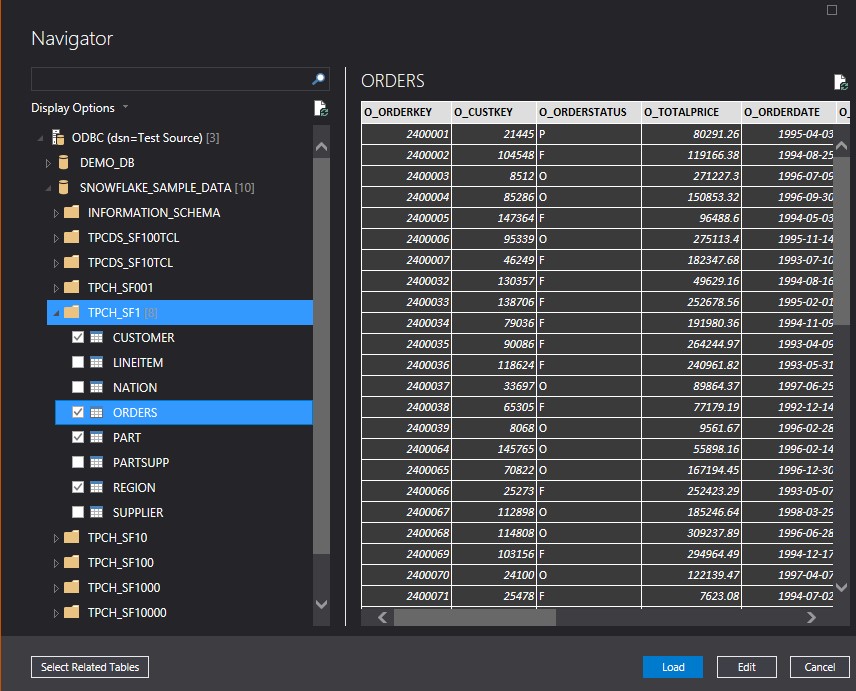
Expand Data Sources and right click on our new ODBC connection, select Import New Tables.
Proceed to navigate through your database and select the tables you wish to import.
Now Build Your Model!
The next step is building your Tabular Model to connect your Power BI report to.
If you are copying a Power BI model you can copy and past your Power Queries, measures, calculated columns over seamlessly. The only thing you’ll have to replicate by hand is relationships.
While this build environment is not quite as convenient for testing as Power BI, the result will be faster, and development will be very familiar.
Good luck!
Our Snowflake to Azure Analysis Services ODBC Connection is Complete!
The next step is deploying your project and getting it into your users hands. Using this solution gives you an easy way to leverage the computational power of analysis services while maintaining the query building power and familiarity of Power Query to create your ideal solution.
This still has the downside of having a slow refresh time, wince our data will always have to go through our gateway machine.
Next time we’ll go through utilizing the Databricks Spark Connector to get around this and provide an even faster solution!
Our Latest Blogs
About FreshBI
Based in Canada, South Africa and in the United Kingdom, we have helped hundreds of businesses achieve excellence & success through business intelligence.
Power BI runs in our blood, and we are ready to take your business to next level.


